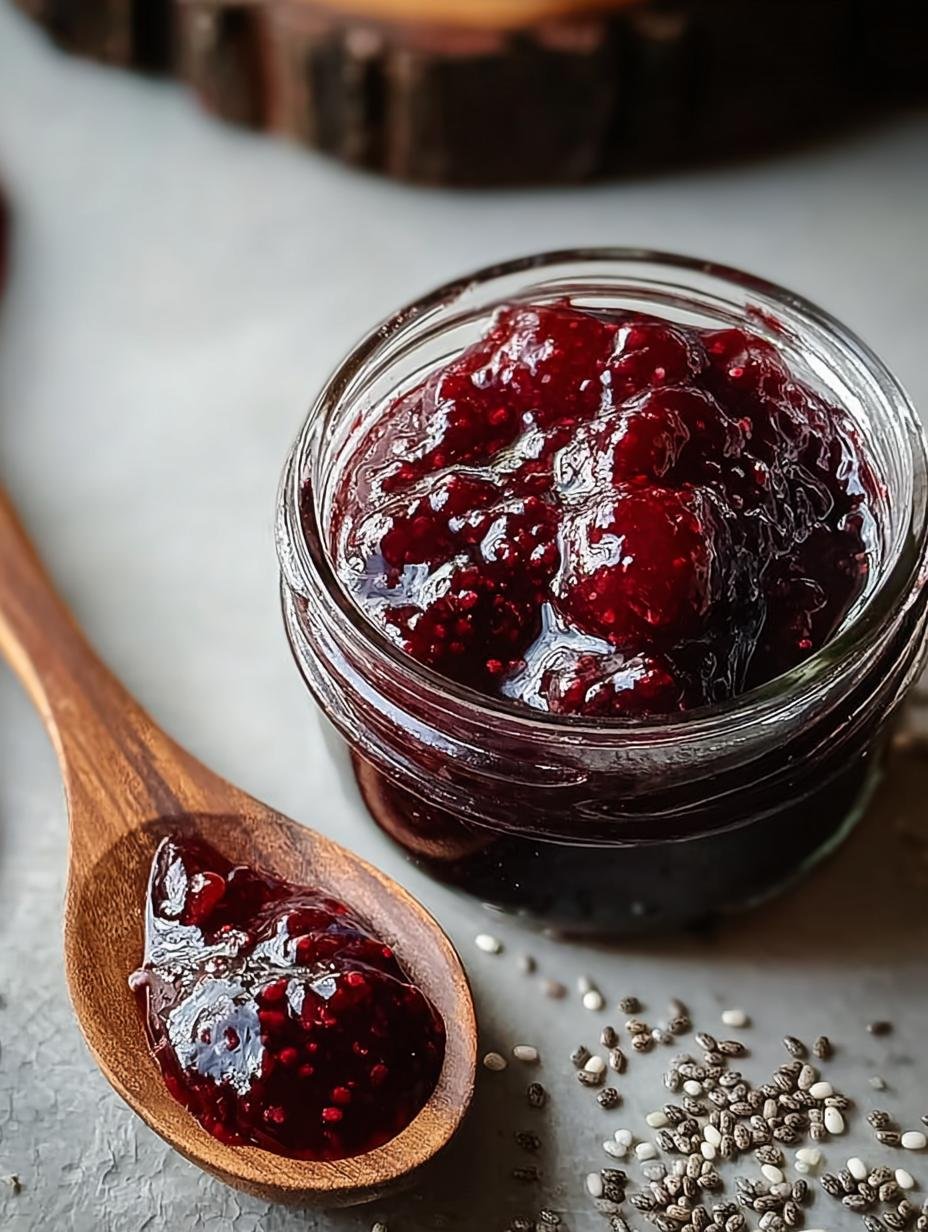
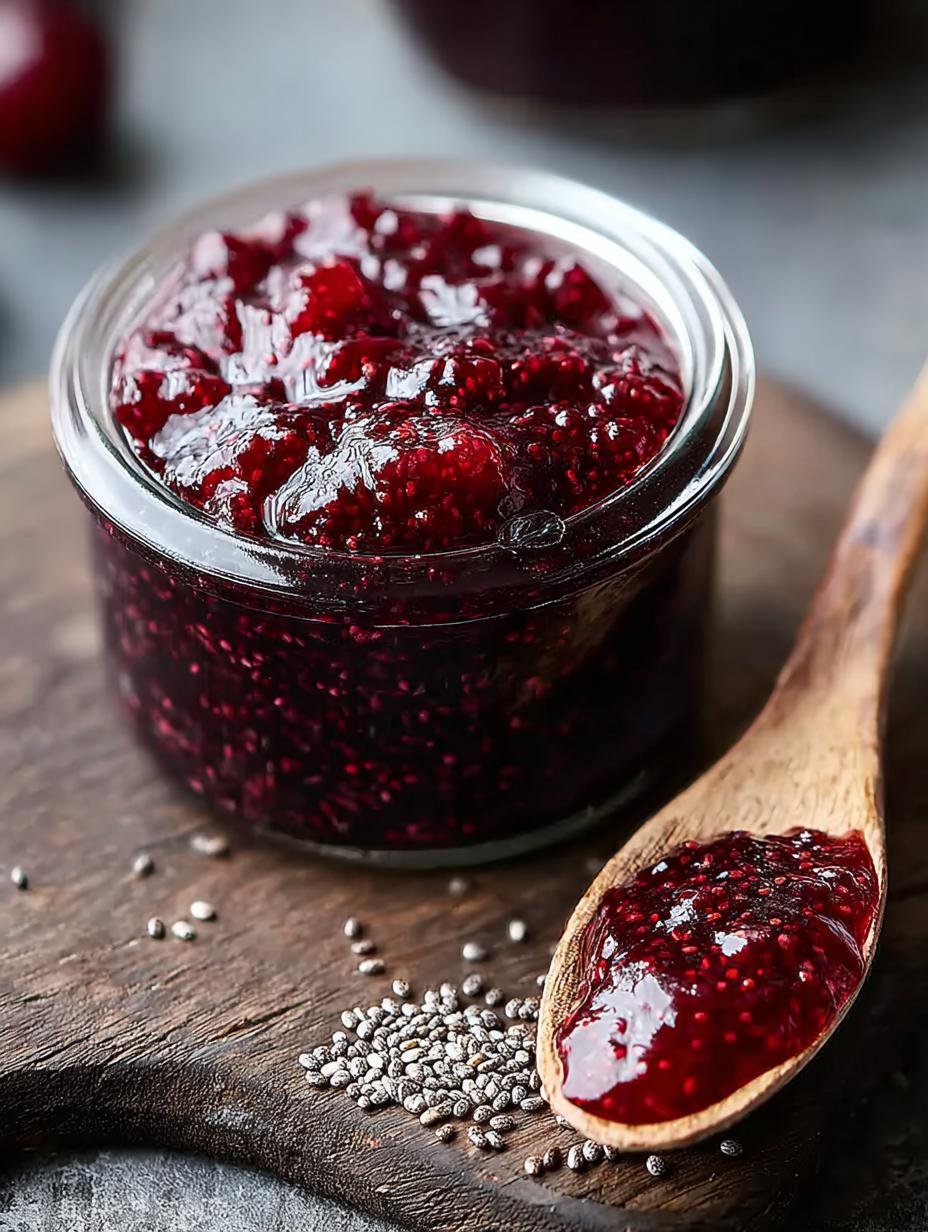
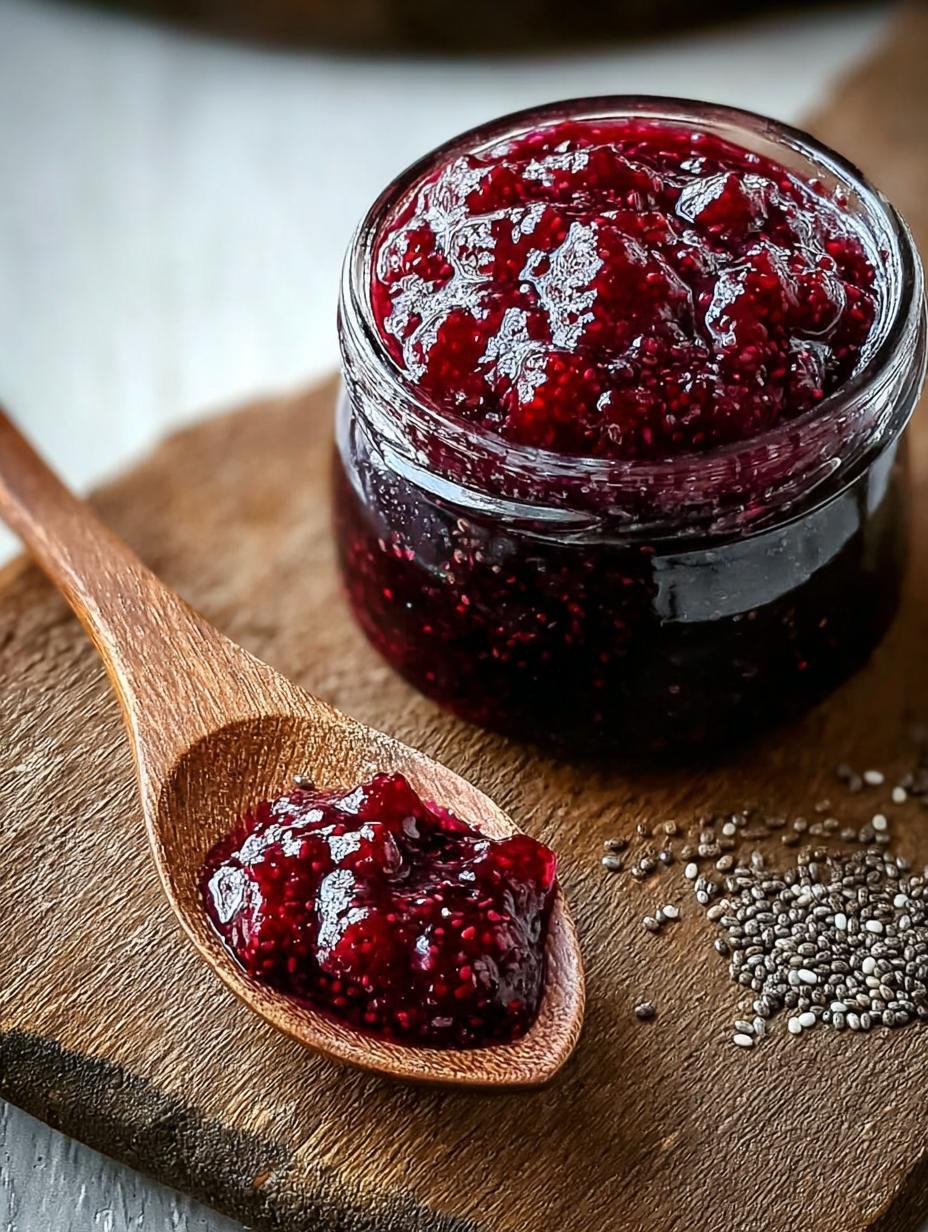
Chia seed jam has become my go-to for a quick, healthy spread, and I think you’ll absolutely love it too! I remember struggling for ages to find a jam that wasn’t loaded with sugar, and then I discovered this simple trick. Now, I whip up a batch in minutes, and the vibrant, fresh berry flavor is incredible. It’s so much better than any store-bought version, and my kids devour it on toast. Imagine a bright, slightly tart, wonderfully thick jam that’s actually good for you – that’s what this is! Forget those complicated canning recipes; this homemade jam is seriously easy. Let’s get cooking!
Why You’ll Love This Chia Seed Jam
This isn’t just any jam; it’s a little jar of goodness you can feel great about. Here’s why it’s a game-changer:
- Naturally Sweetened: You control the sweetness, using just a touch of maple syrup or honey.
- Packed with Nutrients: Chia seeds bring fiber and healthy omega-3 fatty acids to the table.
- Incredibly Easy: Seriously, if you can stir, you can make this jam. No pectin, no fuss!
- Quick to Make: Ready in under 25 minutes, perfect for when that craving hits.
- Versatile: Delicious on toast, yogurt, oatmeal, and even as a topping for that best Wisconsin apple kringle.
- Customizable: Use your favorite fruits – berries, peaches, plums, you name it!
- Healthier Alternative: It’s a fantastic way to enjoy jam without the guilt of high sugar content.
- Taste of Fresh Fruit: You get the pure, vibrant flavor of the fruit, enhanced, not masked.
Ingredients for Chia Seed Jam
Whipping up this delicious jam is super simple. You just need a few key ingredients to get that perfect texture and sweetness, making it a fantastic topping for everything from your morning toast to a slice of authentic Wisconsin apple kringle.
- 2 cups (300 g) fresh or frozen fruit – I love using berries like raspberries or strawberries, but peaches work wonderfully too! Chop fresh fruit into small pieces.
- 2 tablespoons (20 g) chia seeds – These little powerhouses are the magic ingredient that thickens our jam without pectin.
- 2–3 tablespoons (30–45 ml) maple syrup, honey, or agave – Adjust this to your taste and the sweetness of your fruit. I usually start with 2 tablespoons and add more if needed.
- 1 teaspoon lemon juice (optional) – A little acidity brightens the fruit flavors and helps the jam set.
- ½ teaspoon vanilla extract (optional) – This adds a lovely depth of flavor that complements most fruits beautifully.
How to Make Chia Seed Jam
Making this jam is incredibly straightforward, and the results are so rewarding. Forget the long simmering times of traditional jam-making! This recipe comes together quickly, perfect for a busy weeknight or a weekend treat. You’ll be amazed at how simple it is to achieve a delicious, healthy spread that’s fantastic on everything from toast to a slice of authentic Wisconsin apple kringle.
- Step 1: Prepare the Fruit. If you’re using fresh fruit, give it a good wash and chop it into bite-sized pieces. I find smaller pieces break down faster. If you’re using frozen fruit, you can toss it right into the saucepan without thawing – it will soften as it heats up.
- Step 2: Cook the Fruit. Place your prepared fruit into a medium saucepan. Turn the heat to medium and let it simmer, stirring occasionally. You’ll see the fruit start to soften and release its lovely juices. Once it’s tender, use a potato masher or even a fork to mash the fruit to your desired consistency. I like mine a little chunky, but you can make it as smooth as you like.
- Step 3: Add Sweetener and Lemon Juice. Stir in your chosen sweetener – maple syrup, honey, or agave – along with the optional lemon juice. Let this mixture simmer gently for about 5–7 minutes. This helps the flavors meld together beautifully, creating a wonderfully aromatic scent.
- Step 4: Add Chia Seeds. Remove the saucepan from the heat. Now it’s time for the magic! Stir in the chia seeds thoroughly, making sure they’re evenly distributed throughout the fruit mixture. This is what will give our jam that perfect thick, spreadable texture.
- Step 5: Let it Thicken. Allow the jam to sit undisturbed for about 10–15 minutes. You’ll notice the chia seeds working their magic, absorbing the liquid and transforming the mixture into a jammy consistency. It’s fascinating to watch!
- Step 6: Adjust and Store. Once thickened, give it a taste. If it’s a bit too thick for your liking, stir in a tablespoon of water or fruit juice. Adjust the sweetness if needed. Transfer your beautiful, homemade chia seed jam to a clean jar. It will continue to set as it chills in the refrigerator, ready to be enjoyed on your favorite pastries, perhaps even a slice of that delightful Danish apple kringle Wisconsin style.

Pro Tips for the Best Chia Seed Jam
I’ve made this jam countless times, and over the years, I’ve picked up a few tricks to ensure it turns out perfectly every single time. These tips will help you achieve the best flavor and texture, making your homemade spread truly exceptional.
- Always use ripe, flavorful fruit. The better the fruit, the better the jam!
- Don’t be afraid to mash the fruit well in the beginning for a smoother consistency.
- Taste and adjust the sweetener and lemon juice *after* the chia seeds have started to thicken the jam.
- For an ultra-smooth jam, you can pulse it a few times in a food processor or blender after it has cooled.
What’s the secret to perfect chia seed jam?
The real secret is giving the chia seeds enough time to absorb the liquid and thicken. Don’t rush this step! Also, using a little bit of lemon juice brightens the fruit flavor beautifully. For more ideas on enhancing fruit flavors, check out these simple fresh lemon and lime fizz recipes.
Can I make chia seed jam ahead of time?
Absolutely! This jam is fantastic for meal prep. You can make it up to two weeks in advance and store it in an airtight container in the refrigerator. It’s perfect for busy mornings.
How do I avoid common mistakes with chia seed jam?
The most common pitfall is not letting it thicken enough. Be patient! Also, avoid using too much sweetener initially; it’s easier to add more than to take it away.
Best Ways to Serve Chia Seed Jam
This versatile chia seed jam is a dream come true for so many dishes! I love spreading it generously on warm, toasted sourdough bread for a simple yet satisfying breakfast. It’s also absolutely divine swirled into plain Greek yogurt or cottage cheese for a protein-packed snack. And for a truly special treat, imagine this vibrant jam piled high on a slice of warm, flaky Wisconsin kringle recipe or an apple kringle pastry. The sweet fruitiness pairs perfectly with the rich, buttery layers of the pastry!

Nutrition Facts for Chia Seed Jam
This healthier take on jam offers a delightful way to enjoy fruit without a sugar overload. Here’s a look at the approximate nutritional breakdown per tablespoon, perfect for understanding what you’re enjoying on your toast or pastry.
- Serving Size: 1 tablespoon
- Calories: 25
- Fat: 0.5g
- Saturated Fat: N/A
- Protein: 0.5g
- Carbohydrates: 5g
- Fiber: 1g
- Sugar: 4g
- Sodium: N/A
Nutritional values are estimates and may vary based on the specific fruit and sweetener used in your chia seed jam. For more healthy recipe ideas, consider these easy summer recipes.
How to Store and Reheat Chia Seed Jam
Properly storing your homemade chia seed jam ensures it stays fresh and delicious. Once your jam has finished thickening and has cooled down slightly, transfer it into a clean, airtight container. Glass jars with tight-fitting lids are my favorite because they don’t absorb odors and are easy to see through. For everyday use, I recommend storing it in the refrigerator, where it should keep well for about 3 to 4 days. If you’ve made a big batch and want to enjoy it later, you can absolutely freeze it! For freezing, portion the jam into freezer-safe containers or ice cube trays, wrap them well, and freeze for up to 3 months. Reheating is simple; just thaw frozen jam in the fridge overnight. If it seems a bit too thick after chilling, you can gently warm it in a small saucepan over low heat or stir in a teaspoon of water or fruit juice until it reaches your desired consistency, making it perfect for spreading on that leftover slice of apple kringle pastry.
Frequently Asked Questions About Chia Seed Jam
Can I use different fruits for this chia seed jam recipe?
Absolutely! This recipe is incredibly versatile. While berries like strawberries and raspberries are popular, you can easily make this with peaches, plums, apricots, or even mangoes. Just adjust the sweetener based on the fruit’s natural sweetness. It’s a great way to use up whatever fruit is in season, perhaps even to top a slice of sweet Wisconsin apple pastry.
How long does chia seed jam last?
When stored properly in an airtight container in the refrigerator, your homemade chia seed jam should last for about 3 to 4 days. For longer storage, you can freeze it for up to 3 months. The chia seeds help preserve it a bit longer than traditional jams, but always check for any signs of spoilage before consuming. If you’re interested in other preservation methods, you might find these homemade soda recipes inspiring for using fruit.
What if my chia seed jam is too thin or too thick?
No worries if the consistency isn’t quite right! If your jam is too thin after chilling, simply stir in another teaspoon of chia seeds and let it sit for another 10–15 minutes. If it’s too thick, you can thin it out by stirring in a tablespoon of water, fruit juice, or even a little bit of unsweetened applesauce until it reaches your desired spreadable texture, perfect for a dollop on your Wisconsin Danish pastry.
Can I make this jam sugar-free?
Yes, you can! For a truly sugar-free option, you can omit the added sweetener altogether if your fruit is very ripe and sweet. Alternatively, you can use a sugar-free liquid sweetener like stevia or erythritol, adjusting the amount to your taste. This makes it an even healthier choice, ideal for those watching their sugar intake, and a delightful, lighter topping for any pastry.
Variations of Chia Seed Jam You Can Try
Once you’ve mastered the basic chia seed jam, the possibilities are endless! Experimenting with different flavors and methods is part of the fun. Here are a few ideas to get you started:
- Spiced Apple Cinnamon: For a comforting flavor, add ½ teaspoon of cinnamon and a pinch of nutmeg to your fruit mixture before cooking. This is especially delicious if you’re pairing it with something like an apple cinnamon kringle Wisconsin style.
- Tropical Mango-Lime: Swap berries for ripe mangoes and add a tablespoon of lime juice along with the lemon juice for a bright, zesty twist. It’s a delightful change of pace!
- Low-FODMAP Berry Blend: To make this lower in FODMAPs, focus on fruits like blueberries and raspberries, and perhaps use a sugar-free sweetener if needed. This makes it accessible for more dietary needs.
- Quick Microwaved Version: For an even speedier jam, combine fruit, sweetener, and lemon juice in a microwave-safe bowl. Microwave on high for 2-3 minutes, stir, then add chia seeds and let it sit. It’s perfect when you need jam in a flash for your favorite pastry.

Amazing Chia Seed Jam: 25 Minute Fix
- Total Time: 25 minutes
- Yield: About 1 cup of jam 1x
- Diet: Vegan
Description
This Chia Seed Jam recipe offers a healthier, homemade alternative to store-bought jams. It’s naturally sweetened, quick to make, and packed with fiber and omega-3s, using chia seeds as a natural thickener instead of pectin.
Ingredients
- 2 cups (300 g) fresh or frozen fruit (e.g., strawberries, raspberries, blueberries, peaches)
- 2 tablespoons (20 g) chia seeds
- 2–3 tablespoons (30–45 ml) maple syrup, honey, or agave (adjust to taste)
- 1 teaspoon lemon juice (optional)
- ½ teaspoon vanilla extract (optional)
Instructions
- Prepare the fruit: Wash and chop fresh fruit into small pieces. Frozen fruit can be used directly without thawing.
- Cook the fruit: Place fruit in a medium saucepan over medium heat. Stir occasionally until it softens and releases juices. Mash to your desired consistency using a potato masher or fork.
- Add sweetener and lemon juice: Stir in the maple syrup or honey and lemon juice. Simmer for 5–7 minutes to blend flavors.
- Add chia seeds: Remove the pan from heat. Stir in the chia seeds thoroughly to distribute evenly.
- Let it thicken: Allow the jam to sit for 10–15 minutes. The chia seeds will absorb liquid and thicken the mixture.
- Adjust and store: If too thick, add a tablespoon of water or fruit juice. Taste and adjust sweetness if needed. Transfer to a clean jar and refrigerate. The jam will continue to set as it chills.
Notes
- Use ripe, flavorful fruit for the best taste.
- Adjust sweetness based on the tartness of your fruit.
- Allow at least 10 minutes for the jam to thicken after adding chia seeds.
- For a smoother texture, blend the jam after cooling.
- Store in an airtight container in the refrigerator for up to 2 weeks.
- Prep Time: 5 minutes
- Cook Time: 10 minutes
- Category: Breakfast, Spread
- Method: Stovetop
- Cuisine: American
Nutrition
- Serving Size: 1 tablespoon
- Calories: 25
- Sugar: 4g
- Sodium: N/A
- Fat: 0.5g
- Saturated Fat: N/A
- Unsaturated Fat: N/A
- Trans Fat: N/A
- Carbohydrates: 5g
- Fiber: 1g
- Protein: 0.5g
- Cholesterol: N/A

