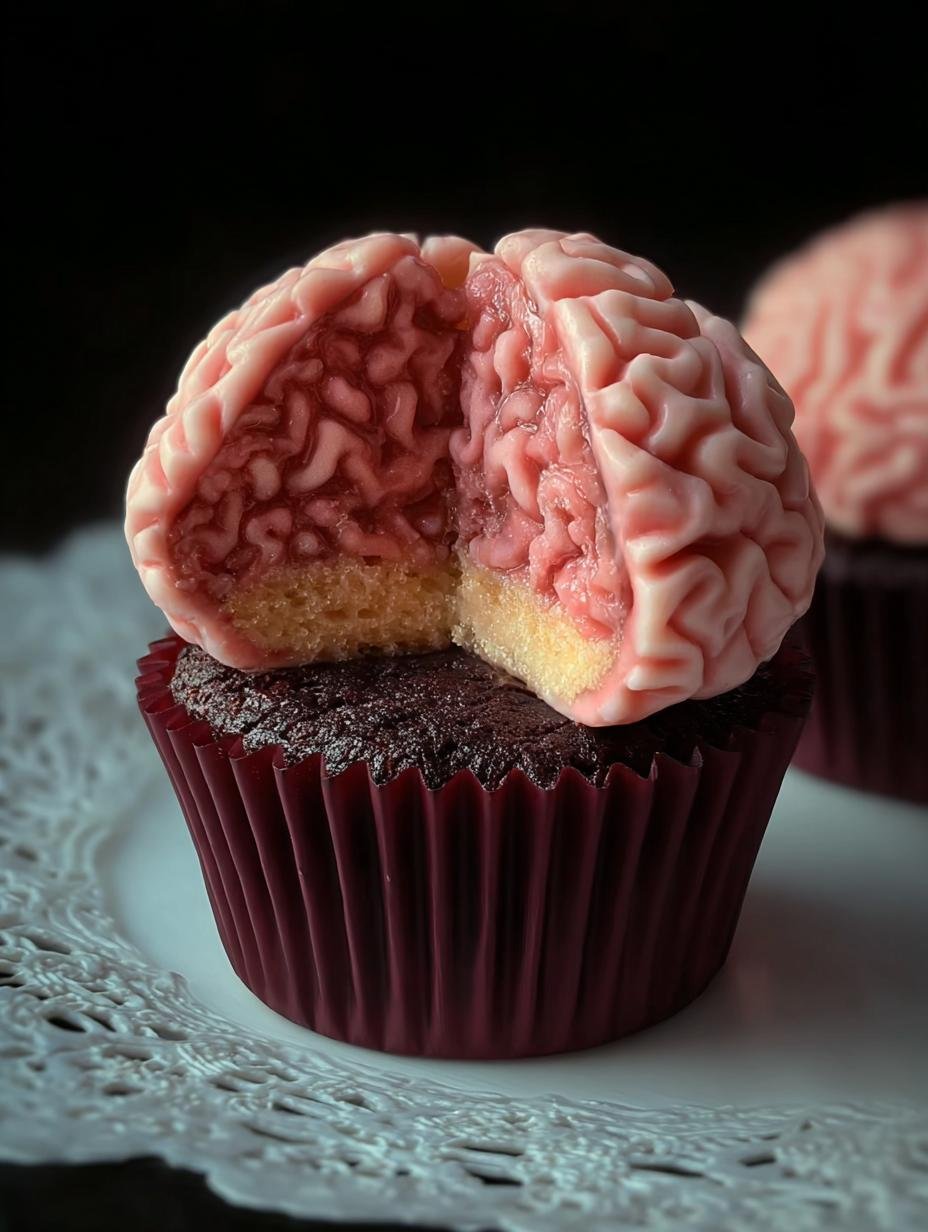
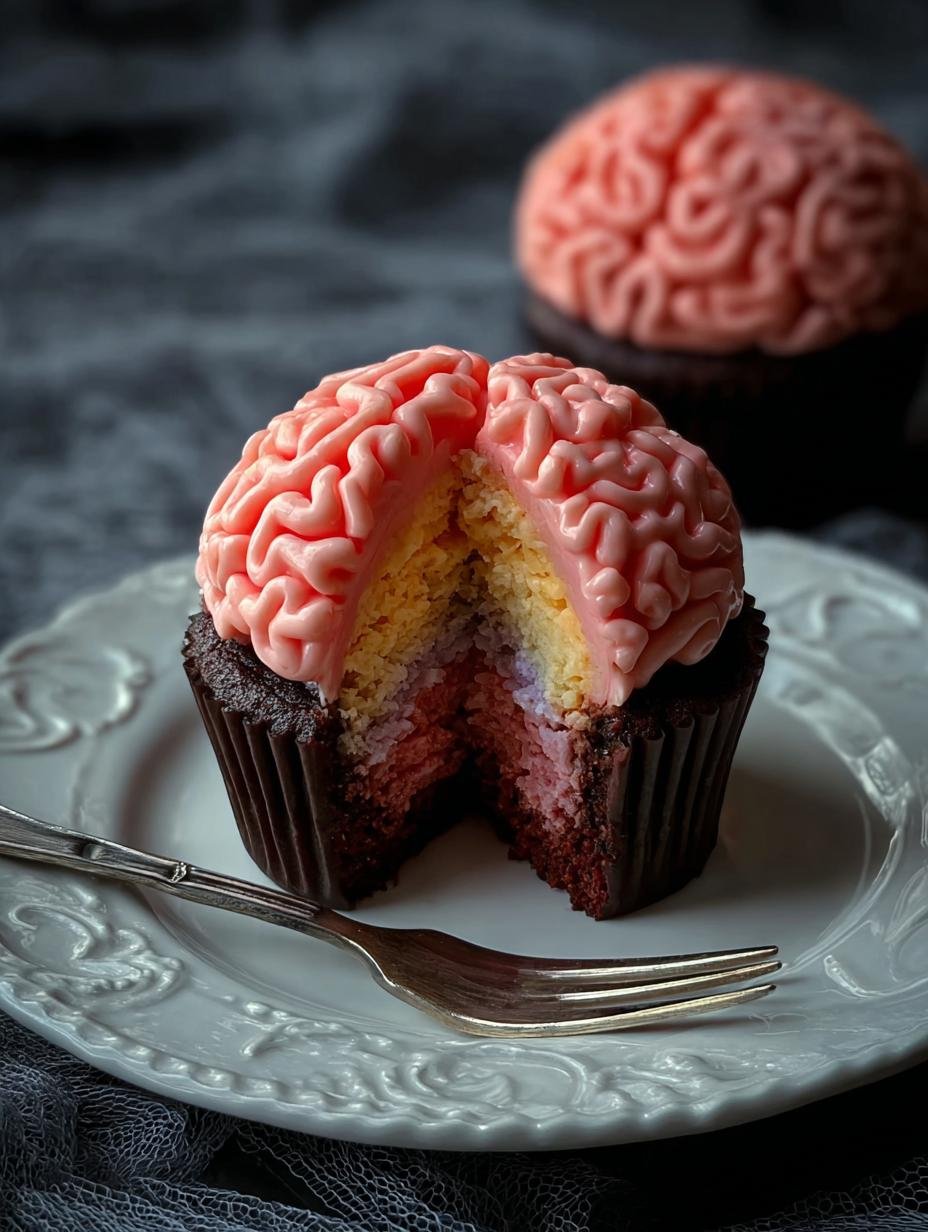
Halloween Brain Cupcake creations have become my absolute favorite way to kick off the spooky season! Ever since I was a kid, the thrill of creepy desserts has always been a highlight of Halloween parties. I remember one year, my aunt made these incredibly realistic brain cupcakes that both delighted and slightly terrified us with their gory details. The sight of that squishy, pink buttercream brain, oozing with what looked like real blood, was unforgettable! Now, I get to share that same fun and slightly macabre magic with you. These cupcakes are perfect for adding a truly gruesome touch to your Halloween spread – let’s get baking these wonderfully spooky treats!
Why You’ll Love This Halloween Brain Cupcake
These aren’t just any cupcakes; they’re a conversation starter and a guaranteed hit at any Halloween gathering! You’ll adore how incredibly simple these spooky treats are to decorate. Forget complicated techniques; this recipe is designed for fun and ease.
- Effortless Realism: Achieve a shockingly lifelike brain effect with just a piping bag and a few simple tricks.
- Party-Perfect Presentation: These visually striking treats are sure to wow your guests and become the star of your dessert table.
- Quick Decoration: Impress everyone with minimal effort – perfect for busy hosts.
- Customizable Flavors: Start with your favorite cake base and adapt the frosting to match!
- Kid-Friendly Fun: Get the little ones involved in decorating these wonderfully creepy, easy cupcakes.
- Memorable Centerpiece: Elevate your Halloween party with unforgettable, gory party desserts.
- Deliciously Spooky: A delightful treat that satisfies your sweet tooth while embracing the Halloween spirit.
Ingredients for Halloween Brain Cupcakes
Gather these goodies to create your wonderfully spooky treats. Having your cupcakes cooled and your butter at room temperature is key for smooth buttercream frosting.
- 12 vanilla or strawberry cupcakes – cooled completely
- 1 cup unsalted butter – softened to room temperature for easy creaming
- 3 – 4 cups powdered sugar – sifted for a smooth texture
- 1 tsp vanilla extract – for classic sweetness
- Pinch of salt – balances the sweetness
- 1 – 2 tbsp milk or cream – to adjust consistency
- Gel colors: pink, warm brown or ivory – essential for realistic brain tones
- Raspberry jam, coulis, or red gel – for that gory “blood” effect
How to Make Halloween Brain Cupcakes
Now for the fun part – transforming your cooled cupcakes into delightfully grotesque spooky treats! This process is surprisingly straightforward and uses simple techniques to achieve a realistic brain effect. You’ll love how quickly these come together, making them perfect for any last-minute Halloween party plans.
- Step 1: Prepare your buttercream. Tint a batch of your frosting a base pink color. For a more muted, realistic brain tone, add just a tiny drop of warm brown or ivory gel color. Mix until you achieve a slightly eerie, natural shade.
- Step 2: Frost the cupcakes. Spread a thin, even layer of the pink buttercream over each cooled cupcake. This base coat acts as the canvas. Then, gently score a shallow line down the center of each cupcake with your spatula. This line will define the two hemispheres of the brain.
- Step 3: Pipe the brain lobes. Fit a piping bag with a large round tip (like a #10 or #12). Begin piping one long, squiggly line on one side of the center score line. Repeat on the other side, creating the distinct brain lobes that give our Halloween Brain Cupcake its signature look.
- Step 4: Add volume and texture. Pipe a second layer of squiggles directly on top of your first piped lines. Don’t aim for perfection; irregular loops and varying heights will make the brain look more natural and unsettling. Chill the decorated cupcakes for about 5 minutes to help the buttercream set slightly before adding the final gruesome touch.
- Step 5: Add the “blood.” Gently spoon raspberry jam, coulis, or red gel into the crevices and along the piped lines. This gory “blood” effect really brings the spooky treats to life! If you’re using raspberry jam, a little goes a long way for that realistic ooze.
- Step 6: Serve your terrifyingly tasty Halloween Brain Cupcakes soon after decorating. This ensures the buttercream and “blood” effects look their freshest and most gruesome for your party guests.

Pro Tips for the Best Halloween Brain Cupcakes
Want to make your Halloween Brain Cupcakes truly unforgettable? I’ve picked up a few tricks over the years that make all the difference in achieving that perfect, spooky look.
- Muted Tones are Key: Don’t be afraid to mute your pink buttercream with a touch of brown or ivory. This creates a more realistic, less cartoonish brain color that’s genuinely creepy.
- Chill for Stability: A quick chill in the freezer (about 5 minutes) after piping the brain lobes helps set the buttercream. This prevents the “blood” from running too much and keeps your brain shape defined.
- Vary Your Piping: For a more natural brain texture, don’t make all your squiggles the same size or height. Mix it up to mimic real brain folds.
- Jam Consistency Matters: If your raspberry jam is too thick, warm it slightly or add a tiny bit of water. If it’s too thin, a quick stir might be all it needs.
What’s the secret to realistic Halloween Brain Cupcakes?
The secret lies in the buttercream color and piping technique. Using muted pinks and varied, irregular squiggles piped with a large round tip helps create a lifelike brain texture that’s both impressive and a little unsettling. For more fun dessert ideas, check out these easy summer recipes.
Can I make the Halloween Brain Cupcakes ahead of time?
Yes, you can! Decorate the cupcakes completely up to 24 hours in advance and store them in an airtight container in the refrigerator. Add the raspberry “blood” effect just before serving to keep it looking fresh and gory.
How do I avoid common mistakes with Halloween Brain Cupcakes?
Ensure your cupcakes are completely cool before frosting to prevent melting. If your buttercream seems too soft, chill it briefly. For the jam, use a thicker consistency or chill the piped cupcakes first to prevent it from running off the sides. If you’re looking for other fun drink ideas, consider these refreshing watermelon lemonade ideas.
Best Ways to Serve Halloween Brain Cupcakes
These gruesome delights are perfect for any spooky gathering! For a truly terrifying spread, arrange your Halloween Brain Cupcakes alongside other spooky treats like ghost cookies or monster Rice Krispie treats. They also make a fantastic focal point for a Halloween dessert table, offering a delicious and visually striking centerpiece. Imagine them nestled amongst candy corn and chocolate eyeballs – pure Halloween perfection! These easy cupcakes are sure to be a hit whether served at a costume party or as a fun weekend project. You might also enjoy these homemade soda recipes for a complete party spread.
Nutrition Facts for Halloween Brain Cupcakes
Here’s a look at the estimated nutritional breakdown for each wonderfully spooky treat. Remember, these are approximate values for our delightfully gruesome Halloween Brain Cupcakes.
- Serving Size: 1 cupcake
- Calories: 380
- Fat: 18g
- Saturated Fat: 11g
- Protein: 3g
- Carbohydrates: 52g
- Fiber: 1g
- Sugar: 42g
- Sodium: 180mg
Nutritional values are estimates and may vary based on specific ingredients used, especially the type of cake and jam.
How to Store and Reheat Halloween Brain Cupcakes
Properly storing your gruesome Halloween Brain Cupcakes is key to keeping them looking their best for your party guests. Once your wonderfully spooky treats have completely cooled to room temperature, it’s time to think about storage. I recommend an airtight container, but be mindful of the space between cupcakes to prevent the frosting from smudging. If you’re storing them in the refrigerator, which is ideal for preserving the buttercream and the gory “blood” effect, ensure they are well-covered to prevent drying out. These party desserts are best served within 2-3 days of decorating for optimal appearance.
Reheating isn’t typically necessary for these chilled cupcakes, as the cold helps maintain the brain shape and the jam’s consistency. However, if you prefer them at room temperature, simply let them sit out for about 30 minutes before serving. Adding the raspberry jam “blood” effect just before serving is the ultimate trick to ensure it looks fresh and oozing, rather than dried or running!

Frequently Asked Questions About Halloween Brain Cupcakes
Can I use a different cake flavor for these Halloween Brain Cupcakes?
Absolutely! While vanilla or strawberry cupcakes are classic, feel free to experiment. Chocolate, red velvet, or even a funfetti cake would make fantastic bases for these easy cupcakes. Just ensure they are completely cooled before you start decorating them.
What if I don’t have a piping bag for these Halloween Brain Cupcakes?
No piping bag, no problem! You can still create a wonderfully spooky brain effect. Use a sturdy zip-top bag, snip off a small corner, and use that as your makeshift piping bag. For an even simpler approach, a butter knife or small offset spatula can be used to swirl and shape the buttercream into brain-like lobes. For more creative drink ideas, check out these fresh lemon-lime fizz recipes.
How can I make the “blood” effect on my Halloween Brain Cupcakes look more realistic?
For a truly gruesome look, consider using a thicker raspberry coulis or even a red gel icing. You can also mix a little corn syrup with red gel food coloring and a pinch of cocoa powder to create a darker, more viscous “blood” that mimics arterial spray. Apply it sparingly into the crevices for maximum impact on these easy cupcakes.
Variations of Halloween Brain Cupcakes You Can Try
Ready to take your spooky creations to the next level? These Halloween cupcakes are super versatile, and I love experimenting with different twists to keep things fun and creepy year after year. Here are a few ideas to inspire your next batch of gruesome goodies!
- Flavor Fusions: While vanilla and strawberry are classics, don’t shy away from a rich chocolate cake base or a vibrant red velvet. Each offers a different contrast for the pink brain frosting and red “blood.”
- Gory Glazes: Beyond raspberry, consider a cherry coulis for a deeper red hue or even a simple red gel mixed with a touch of cocoa powder for a darker, more realistic blood effect. You could even try a thin strawberry jam for a lighter, sweeter look.
- Add-On Horrors: For an extra touch of terror, carefully place a couple of edible candy eyeballs onto the brain frosting before the “blood” is added. They peek out from the lobes for a truly unsettling effect!
- Mini Brains: Use mini cupcake liners and a smaller piping tip to create adorable, bite-sized brain cupcakes. These are perfect for monster mash parties or when you need a lot of spooky treats but want smaller portions.

Spooky Halloween Brain Cupcake: 1 Gruesome Recipe
- Total Time: 20 minutes
- Yield: 12 cupcakes 1x
- Diet: Vegetarian
Description
Create spooky and fun Halloween Brain Cupcakes with a simple 5-step decoration process. These cupcakes feature realistic pink buttercream ‘brains’ and a gory raspberry ‘blood’ effect, perfect for parties.
Ingredients
- 12 vanilla or strawberry cupcakes
- 1 cup unsalted butter
- 3 – 4 cups powdered sugar
- 1 tsp vanilla extract
- Pinch of salt
- 1 – 2 tbsp milk or cream
- Gel colors: pink, warm brown or ivory
- Raspberry jam, coulis, or red gel (or mix corn syrup + cocoa for “blood”)
Instructions
- Tint buttercream light pink. Add a drop of warm brown or ivory to mute the tone.
- Spread a thin base coat of the pink buttercream over cooled cupcakes. Score a shallow center line with a spatula to divide the ‘brain’ hemispheres.
- Fit a piping bag with a round tip (#10–12). Pipe one long squiggle on each side of the center line to define the brain lobes.
- Add a second layer of squiggles on top for more volume, creating irregular loops for a natural effect. Chill the cupcakes for 5 minutes to set the squiggles.
- Spoon raspberry jam, coulis, or red gel into the crevices for a gory ‘blood’ effect.
- Serve soon after decorating for the freshest look and texture.
Notes
- For oozing centers, core the cupcakes and fill with jam before frosting.
- Freeze for 5 minutes before glazing to minimize run-off.
- Store up to 5 days in the refrigerator; add the glaze on the day of serving.
- Prep Time: 20 minutes
- Cook Time: 0 minutes
- Category: Dessert
- Method: No-bake decoration
- Cuisine: American
Nutrition
- Serving Size: 1 cupcake
- Calories: 380
- Sugar: 42 g
- Sodium: 180 mg
- Fat: 18 g
- Saturated Fat: 11 g
- Unsaturated Fat: 6 g
- Trans Fat: 0 g
- Carbohydrates: 52 g
- Fiber: 1 g
- Protein: 3 g
- Cholesterol: 55 mg

